
software and hardware installation troubleshooting
on page 111
•
fax setup troubleshooting
on page 119
•
hp instant share setup troubleshooting
on page 124
software and hardware installation troubleshooting
If you encounter a software or hardware problem during installation, see the
topics below for a possible solution.
During a normal installation of the HP Officejet software, the following things
occur:
•
The HP Officejet CD-ROM runs automatically
•
The software installs
•
Files are copied to your hard drive
•
You are requested to plug in the HP Officejet
•
A green OK and check mark appear on an installation wizard screen
•
You are requested to restart your computer
•
the Fax Setup wizard runs
•
The registration process runs
hp officejet 5500 series
chapter 14
112
tr
oubl
eshooting
If any of these things did not occur, there might be a problem with the installation.
To check the installation on a PC, verify the following:
•
Double-click the HP Officejet and make sure the essential icons (scan
picture, scan document, send fax, and hp gallery) appear in the
HP Director. If the essential icons do not appear immediately, you might
need to wait a few minutes for the HP Officejet to connect to your
computer. Otherwise see below.
•
Open the Printers dialog box and check to see that the HP Officejet is
listed.
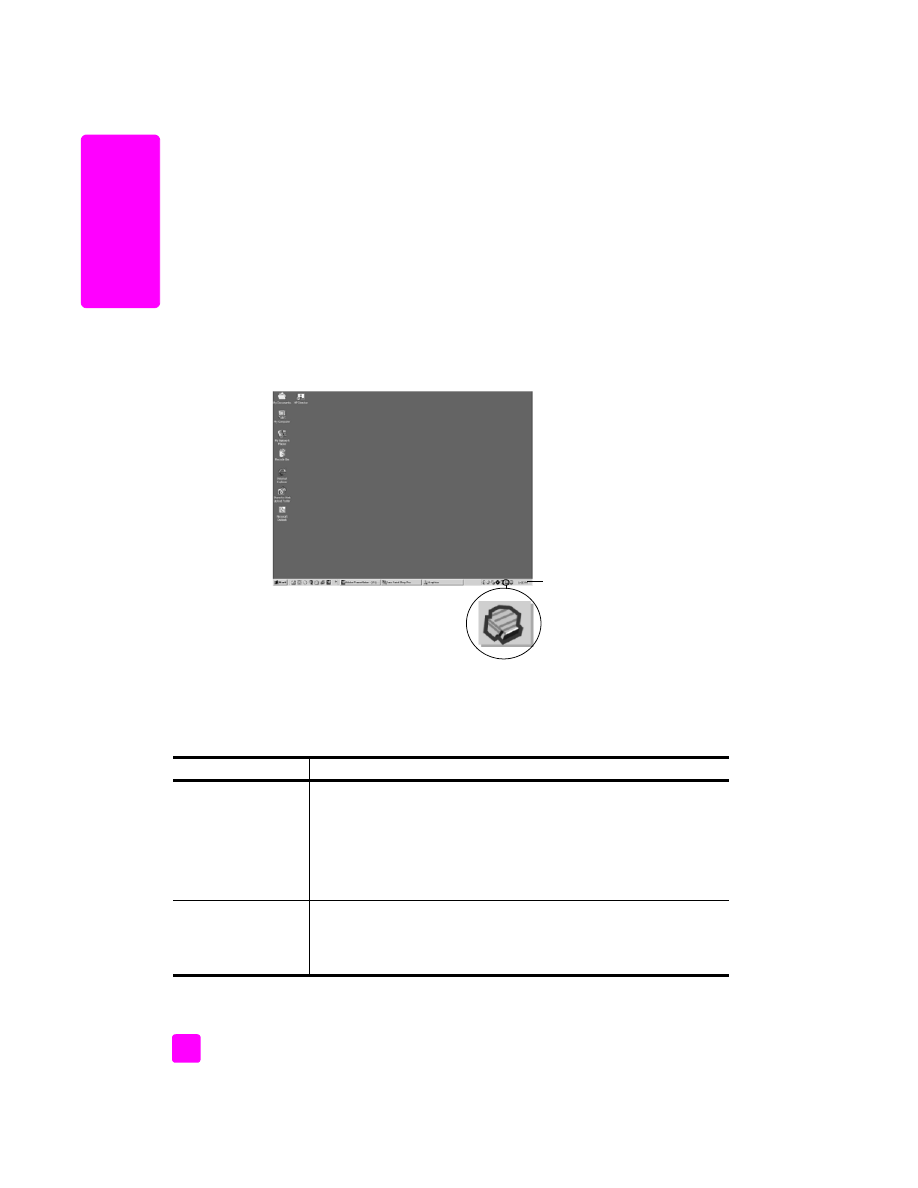
Look at the system tray for an HP Officejet icon. This indicates that the
HP Officejet is ready. The HP Officejet icon normally appears in the lower-right
corner of the desktop in the Task Tray.
software installation troubleshooting
Use this section to solve any problems you might encounter while installing the
HP Officejet software.
Task Tray
problem
possible cause and solution
When I insert the CD-
ROM into my
computer's CD-ROM
drive, nothing
happens
If nothing appears on your computer screen after you insert the
HP Officejet 5500 Series CD-ROM into your computer’s CD-ROM drive:
1
From the Windows
Start
menu, choose
Run
.
2
In the Run dialog box, enter
d:\setup.exe
(if your CD-ROM drive is
not assigned to drive letter d, use the appropriate drive letter), then
click
OK
.
The minimum system
checks screen
appears during
installation
If the minimum system checks screen appears, your system does not meet
the minimum requirements to install the software. Click
Details
to see
what the specific problem is. Then correct the problem before attempting
to install the software.
reference guide
troubleshooting information
113
tr
oubl
eshooting
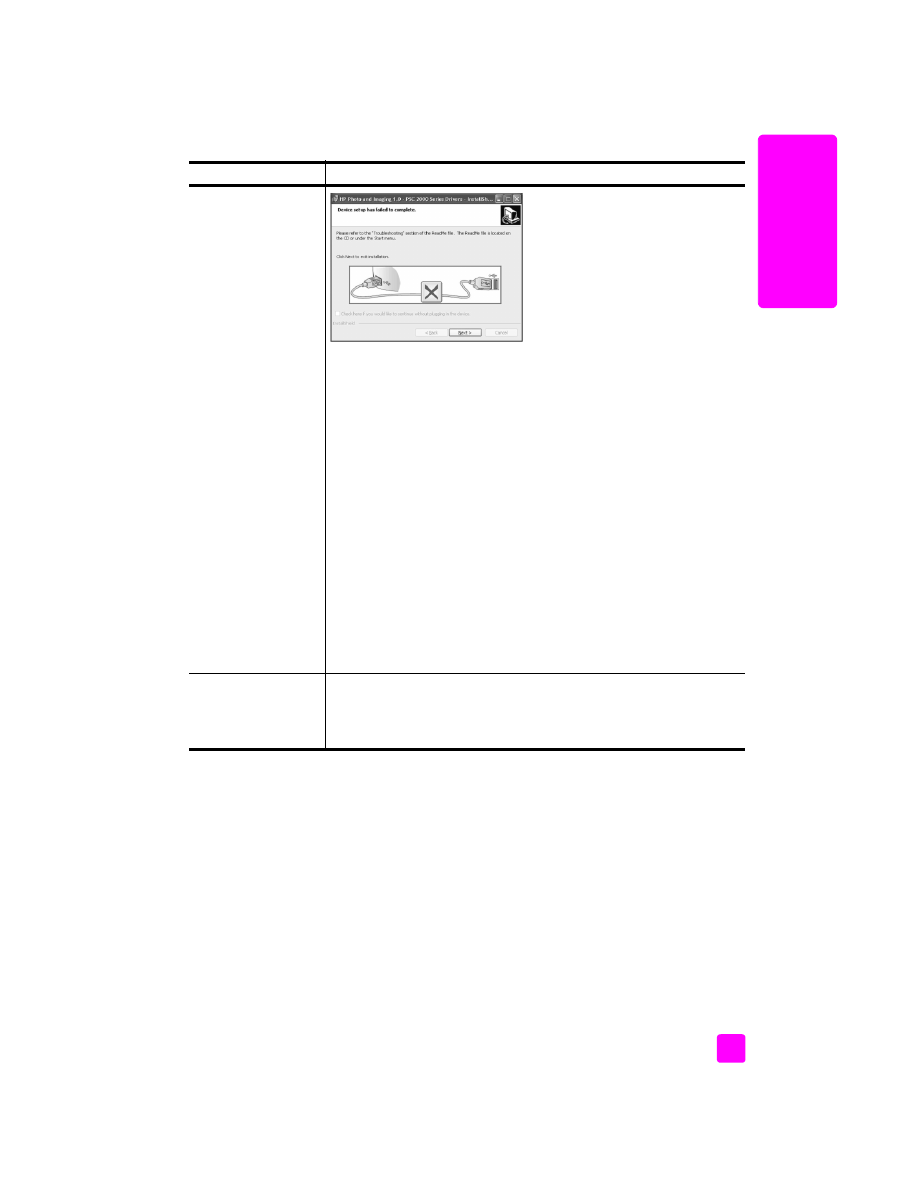
A red X appears on
the USB connect
prompt
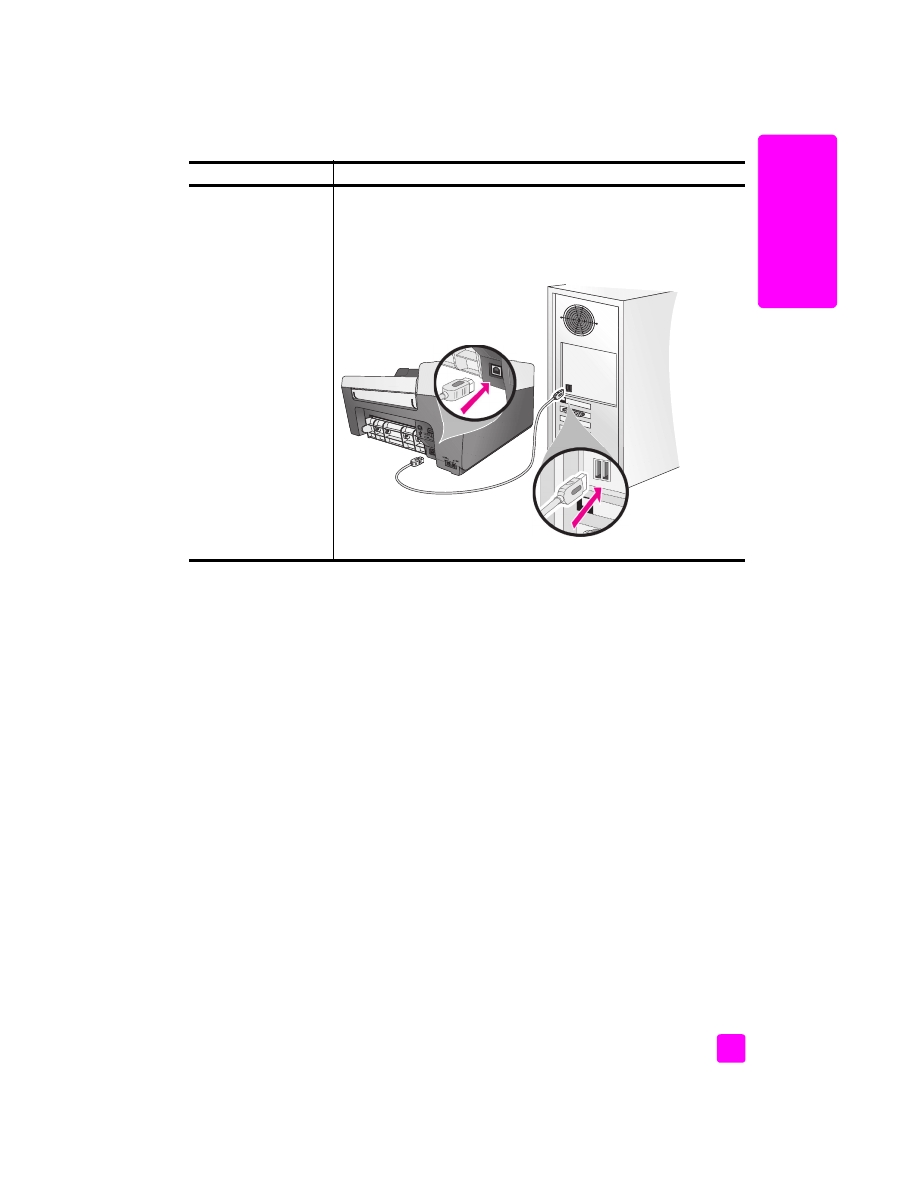
If a red X appears on the USB connect prompt, follow these steps:
1
Verify that the front panel cover is firmly attached, then unplug the
HP Officejet and plug it in again.
2
Verify that the USB and power cables are plugged in.
3
Verify that the USB cable is set up properly as follows:
–
Unplug the USB cable and plug it in again.
–
Do not attach the USB cable to a keyboard or non-powered
hub.
–
Verify that the USB cable is 3 meters or less in length.
–
If you have several USB devices attached to your computer, you
might want to unplug the others during the installation.
4
Continue with the installation and reboot the computer when
prompted. Then open HP Director and check for the essential icons
(scan picture, scan document, send fax, and hp gallery)
5
If the essential icons still do not appear in HP Director, remove the
software and then reinstall it as described in
Some of the icons are
missing in the HP Director
on page 114.
I received a message
that an unknown error
has occurred
If you receive an unknown error message, try to continue with the
installation. If that doesn’t work, discontinue the installation and try to
begin the installation again.
problem
possible cause and solution

hp officejet 5500 series
chapter 14
114
tr
oubl
eshooting
Some of the icons are
missing in the
HP Director
If the essential icons (scan picture, scan document, send fax, and HP
Gallery) do not appear, your installation might not be complete.
If your installation is incomplete, you might need to uninstall and then
reinstall the software. Do not simply delete the HP Officejet program files
from your hard drive. Be sure to remove them properly using the uninstall
utility provided in the HP Officejet program group.
to uninstall from a Windows computer
1
Disconnect your HP Officejet from your computer.
2
On the Windows task bar, click
Start
,
Programs
All Programs
(XP),
Hewlett-Packard
,
hp officejet 5500 series
,
uninstall software
.
3
Follow the directions on the screen.
4
If you are asked whether you would like to remove shared files,
click
No
.
Other programs that use these files might not work properly if the
files are deleted.
5
After the program finishes removing the software, disconnect your
HP Officejet, and restart your computer.
Note:
It is important that you disconnect your HP Officejet before
restarting your computer.
6
To reinstall the software, insert the HP Officejet 5500 Series
CD-ROM into your computer’s CD-ROM drive, and follow the
instructions that appear on the screen
7
After the software is installed, connect the HP Officejet to your
computer. Turn on the HP Officejet using the On button. To
continue with the installation, follow the onscreen instructions and
the instructions provided in the Setup Poster that came with your
HP Officejet.
After connecting and turning on your HP Officejet, you might have
to wait several minutes for all of the Plug and Play events to
complete.
When the software installation is complete, you will see a Status
Monitor icon in the System Tray.
8
To verify that the software is properly installed, double-click the
HP Director icon on the desktop. If the HP Director shows the key
icons (scan picture, scan document, send fax, and HP Gallery), the
software has been properly installed.
problem
possible cause and solution

reference guide
troubleshooting information
115
tr
oubl
eshooting
Some of the icons are
missing in the
hp director
(continued)
to uninstall from a Macintosh computer
1
Disconnect the HP Officejet from your Macintosh.
2
Double-click the
Applications:HP All-in-One Software
folder.
3
Double-click
HP Uninstaller
.
4
Follow the onscreen instructions.
5
After the software is uninstalled, disconnect your HP Officejet, and
restart your computer.
6
To reinstall the software, insert the HP Officejet 5500 Series
CD-ROM into your computer’s CD-ROM drive.
Note:
When reinstalling the software, follow the instructions in the
Setup Poster. Do not connect the HP Officejet to your computer until
after you have completed the software installation.
7
On the desktop, open the CD-ROM, double-click
hp all-in-one
installer
, and follow the instructions that appear.
The fax wizard does
not start
If the fax wizard does not start automatically, launch the fax wizard as
follows:
1
Start
HP Director
in the Hewlett-Packard folder on the Windows
Start
menu.
2
Click the
Settings
menu, and select
Fax Settings and Setup
and
then
Fax Setup Wizard
.
The registration screen
does not appear
If you wish to register your HP Officejet but the registration wizard does
not automatically appear, launch the Product Registration program in
the HP folder on the Windows
Start
menu.
The Digital Imaging
Monitor does not
appear in the Task
Tray
If the Digital Imaging Monitor does not appear in the Task Tray, wait
several minutes. If it still doesn’t appear, click HP Director to check
whether or not essential icons are there. For more information, see
Some of the icons are missing in the HP Director
on page 114.
The Task Tray normally appears in the lower-right corner of the Windows
desktop.
problem
possible cause and solution
HP Digital
Imaging Monitor
icon
Task Tray
hp officejet 5500 series
chapter 14
116
tr
oubl
eshooting
hardware installation troubleshooting
Use this section to solve any problems you might encounter while installing the
HP Officejet hardware.
problem
possible cause and solution
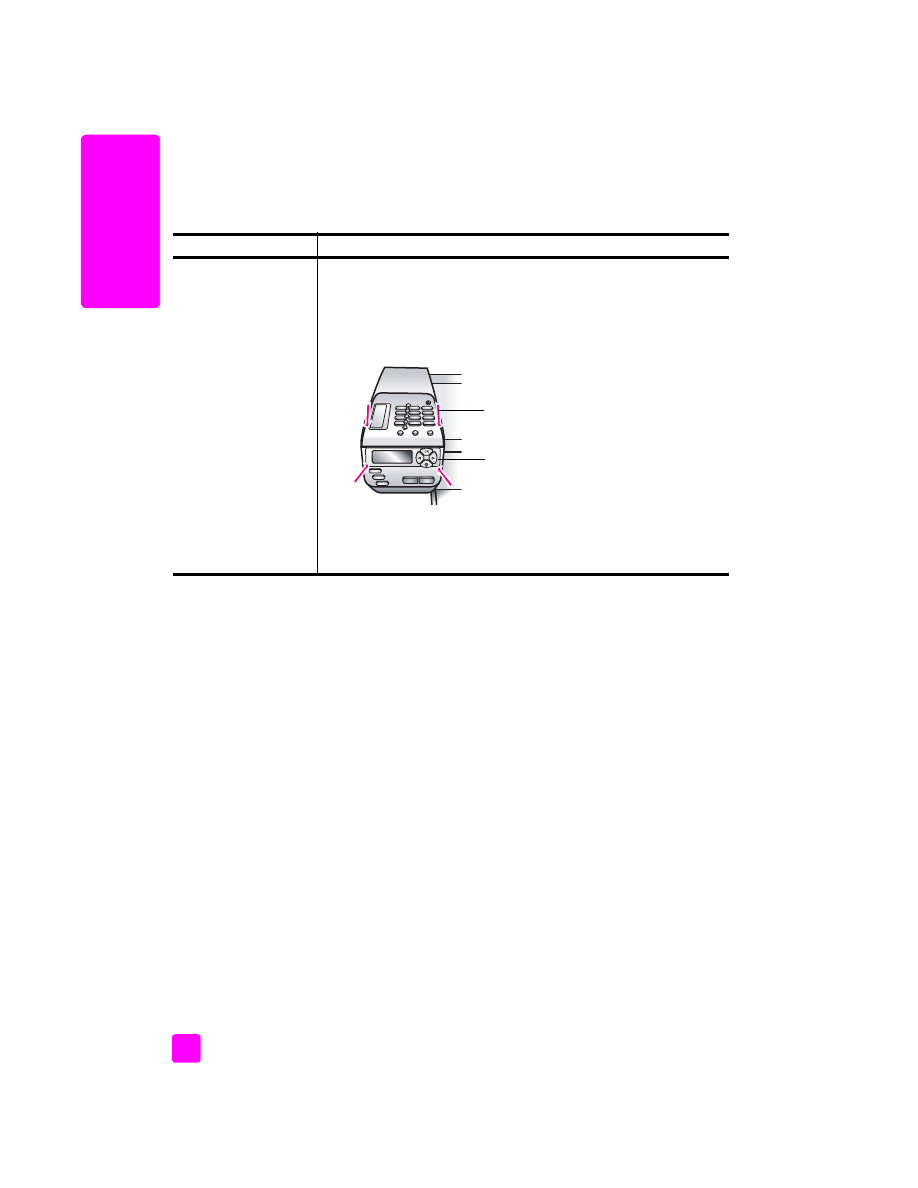
I received a message
on the front panel
display to attach the
front panel cover
This might mean the front panel cover is not attached, or it is attached
incorrectly. Make sure that you attach the bezel as described below
and that it is firmly in place.
1
Align the larger front panel cover over the buttons on the top of
the HP Officejet and snap it into place.
2
Align the smaller front panel cover over the buttons on the front of
the HP Officejet and snap it into place.
3
Make sure all the buttons can move freely.
larger cover
smaller cover

reference guide
troubleshooting information
117
tr
oubl
eshooting
The front panel displays
the wrong language
The HP Officejet has been set up with the incorrect language or
country/region. Usually, you set the language and country/region
when you first set up the HP Officejet. However, you can change these
settings at any time by using the following procedure:
1
Press
Setup
.
2
Press
6
, then press
3
.
This selects Preferences and then selects Set Language &
Country/Region.
After starting the routine, the following prompt is presented on the
front panel display:
Press 11 for English?
If you want to change the language to English, enter 11 using
the keypad, or you can also scroll through the countries/regions
using
or
. Otherwise, wait for five seconds and the
display changes automatically to the next available language.
When you see the language you want, enter its two-digit number
using the keypad.
3
When prompted to confirm the language, press
1
for Yes or
2
for
No.
You are prompted with all the countries/regions for the selected
language. You can also scroll through the countries/regions
using
or .
4
Using the keypad, enter the two-digit number for the desired
country/region.
5
When prompted, press
1
for Yes or
2
for No.
6
You can confirm the language and country/region by printing a
Self-Test Report, as follows:
a. Press
Setup
.
b. Press
1
, then press
4
.
This selects Print Report, and then selects Self-Test Report.
I received a message
on the front panel
display to align the
print cartridges
The HP Officejet prompts you to align cartridges every time you install
a new print cartridge. For more information, see
align the print
cartridges
on page 65.
My HP Officejet does
not power on
If the HP Officejet does not power on, make sure each connection from
the power outlet to the HP Officejet is firmly connected, and wait a few
seconds for the HP Officejet to power on. Also, if the HP Officejet is
plugged in to a power strip, make sure the strip is turned on.
problem
possible cause and solution
hp officejet 5500 series
chapter 14
118
tr
oubl
eshooting
The HP Officejet does
not print
First check to see whether the print cartridge is out of ink. To do this,
see
print a self-test report
on page 61.
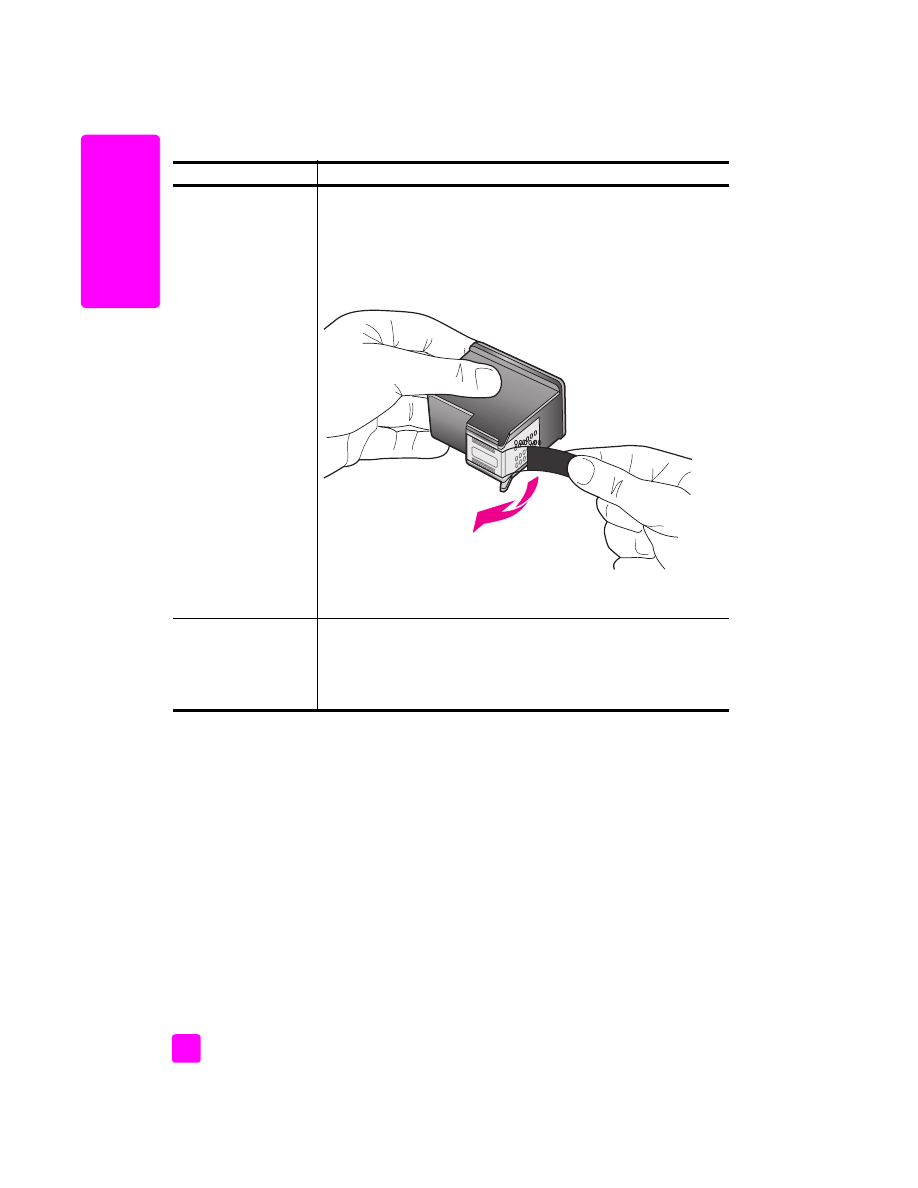
However, before you do this, check the print cartridge to make sure you
have properly removed its packaging. Being careful not to touch the
copper contacts or ink nozzles, make sure you have gently pulled the
pink tab to remove the plastic tape.
If you determine that you need to replace a print cartridge see
replace
the print cartridges
on page 63.
I received a message
on the front panel
display about a paper
jam or a blocked
carriage
If either a paper jam or blocked carriage error message appears in the
front panel display there might be some packing material inside the
HP Officejet. Lift open the print-carriage access door to expose the
print cartridges and remove any packing material or other items that
do not belong there.
problem
possible cause and solution
reference guide
troubleshooting information
119
tr
oubl
eshooting
additional installation troubleshooting help
You might want to refer to the Read Me file for more information on possible
installation problems. In Windows, you can access the Read Me file from the
Start button on the taskbar; select
Programs
,
Hewlett-Packard
,
HP Officejet
5500 Series
,
View the Readme File
. In Macintosh OS 9 or OS X, you can access
the readme file by double-clicking the icon located in the top-level folder of the
HP Officejet software CD-ROM.
The readme file provides more information, including:
•
Using the Re-install utility after a failed installation to return your computer
to a state that will allow the HP Officejet to be re-installed.
•
Using the Re-install utility in Windows 98 to recover from a Composite USB
System Driver missing.
This error might occur if the hardware is installed prior to installing the
software. After running the Re-install utility, reboot your PC, and install the
HP Officejet software before connecting the HP Officejet to your computer.
You can also find more information on the HP website at:
www.hp.com/support